How to Stay Warm Rucking in Winter (Without Overheating)
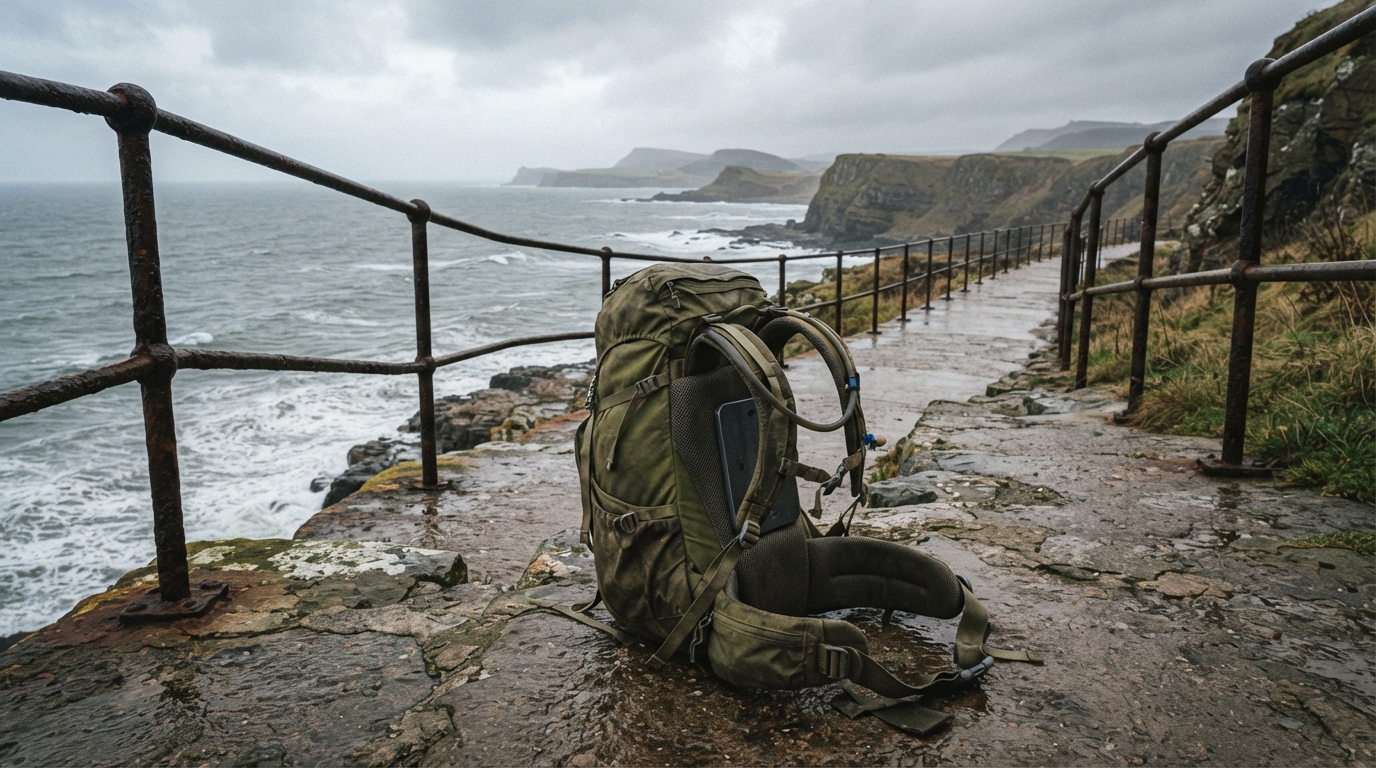
3°C on the forecast. Comfortably warm—verging on sweating—twenty minutes into the ruck regardless. Those are the two numbers that actually decide a winter session, and most people only plan around the first one. They check the app, dress for the number on the screen, zip up fully, and set off looking ready for a static bus stop rather than a loaded march. The mistake isn’t the layer choice itself; it’s using the wrong instrument to make it. Ambient temperature tells you almost nothing about what’s about to happen under a loaded pack.
The instrument that matters is exertion, not the thermometer. Load carriage generates meaningfully more metabolic heat than unloaded walking at the same pace—research on weighted walking shows oxygen uptake, and the heat that comes with it, can climb 30–100% over an unloaded pace, sometimes close to doubling once the load and the effort both rise. That heat has to go somewhere. Trap it under a fully zipped, non-breathing setup and the “wet T-shirt” effect does the rest: a damp base layer against skin conducts heat away roughly 20–25 times faster than still air, so the moment you unzip in a British drizzle, you go from warm to properly cold in the time it takes to notice. Add in the UK winter’s particular brand of cold—damp, windy, rarely dry, rarely properly freezing—and the microclimate around your body is never static through a session. Dress for effort, not the forecast, and plan to shed layers before you sweat rather than after.
What follows is the practical framework: how the physics works, which base layers do which job, how to layer for a UK winter, and the footwear and visibility kit that rounds it out. If you’re still piecing your kit together, grab the Free First Ruck Gear Checklist—it’ll help you audit what you’ve got and what you actually need.
The Core Conflict: Insulation vs. Moisture
The British winter isn’t a dry cold. It’s damp, often windy, and frequently raining sideways. That moisture changes how cold feels against exposed skin and how your clothing behaves. A fleece that looks warm on paper can turn into a damp sponge if you’ve overheated underneath it.
Load carriage is the complicating factor that standard winter walking advice ignores. When you’re carrying weight—whether in a rucksack with a loaded hip belt or a weighted vest pressed against your torso—your metabolic rate climbs. That extra heat has to go somewhere. If it’s trapped under a thick, non-breathable layer, you will sweat. And sweating in a British winter is where things go wrong.
Here is the physics that matters: water conducts heat away from your body roughly 25 times faster than still air. When your base layer is damp with sweat and you’re standing in a 3°C drizzle, you aren’t just cold—you’re losing core temperature at a rate that matters, particularly on longer sessions. The “wet T-shirt” effect isn’t an exaggeration; it’s the mechanism that turns a manageable cold session into one where you’re shivering by the time you reach the car.
It’s the same logic hillwalkers and mountaineers have used for decades, applied to load carriage: start slightly chilly. You’re aiming for the point where you’d be comfortable standing still for a minute or two—not toasty, just not cold. Removing a layer mid-session takes seconds. Drying out a saturated base layer once you’ve overheated takes the rest of the walk, if it happens at all. Starting cold gives you room to warm up naturally through movement and load, then strip before you sweat through the next layer.
Pack adjustment is also underestimated. When you’re wearing thicker winter clothing—a fleece mid-layer, a thicker base, more insulation—your pack straps sit differently. A sternum strap that’s snug in a t-shirt becomes a pressure point with extra layers. Loosening it slightly and then re-tightening once you’ve settled into your pace is one of those small adjustments that stops a two-hour session from becoming a shoulder chafe problem by hour three.
For more on how chafing and blisters start under load, see our rucking troubleshooting guide to blisters, chafing and pain.
The Base Layer Decision (Thermal vs. Standard)
This is where the trade-off that defines most winter rucking kit decisions plays out. The two main options in a performance legging for load-bearing training are a thermal version with a fleece lining and a standard version built around sweat-wicking material. Trying to find a single legging that does both equally is how most buyers end up with a compromise they didn’t understand.
Here’s the breakdown against the two critical jobs this product class has to do:
Job 1: Thermal insulation. The thermal version wins here. A brushed fleece lining against the skin creates a thermal barrier between your legs and the cold air outside. For sessions in genuine cold—sub-zero starts, exposed coastal paths in a January wind—this is the job that matters most. Without it, your legs radiate heat into a fleece mid-layer that’s already working hard to manage moisture from above.
Job 2: Moisture management. The standard version wins here. Sweat-wicking material moves moisture away from your skin and allows it to spread across the fabric surface where it can evaporate. A fleece lining does the opposite: it traps air close to your body to keep you warm, but it also traps moisture. Wear one on a hard effort and thirty minutes in, you’re dealing with a damp layer against your skin.
The flip point isn’t a fixed temperature—it’s the combination of cold and low effort. For the hard job of staying warm in genuinely cold, low-output conditions—a winter coastal path in January, a night ruck at a steady pace in sub-zero temperatures—the fleece-lined thermal version is the right tool. The insulation it provides is doing work that a standard legging simply can’t, and in those conditions the moisture trade-off is manageable if you plan your layering carefully.
Push the effort up and the same cold air stops being the deciding factor. On a 5°C morning, or any session where you’re working hard enough under load to generate real heat, the standard version is the more honest pick. It’s better at managing the moisture that load carriage generates, and it pairs more effectively with a dedicated mid-layer that can be removed if needed. Hard effort in the cold behaves like moderate effort in the mild—your legs don’t know what the forecast says.
If you’re using the thermal version and finding that you’re regularly getting clammy partway through sessions, that’s the signal you’ve crossed the threshold: your effort level has outgrown the insulation you started in, and it’s time to switch.
| Feature | Thermal (Fleece Lined) | Standard (Sweat-Wicking) |
|---|---|---|
| Insulation | High (brushed fleece) | Low (minimal) |
| Moisture management | Traps moisture | Moves moisture away |
| Best for | Sub-zero, low-output, exposed paths | 5°C+, hard effort |
| Trade-off | Warmth vs dampness | Breathability vs warmth |

The “Three-Layer” System for UK Conditions
Once you’ve got your base layer sorted, the system comes together quickly. The three-layer principle isn’t complicated, but it requires understanding what each layer is doing—most failure modes in winter rucking trace back to the wrong layer doing the wrong job.
📺 Watch: What I Wear for UK WINTER HIKING: Clothes for Winter Hill Walking — Walk With Wallace
Layer 1 — Base: moisture management. This is your closest-to-skin layer, and its only job is to move sweat away from your body. Synthetic fabrics (polyester, nylon blends) and merino wool both do this well. Cotton is the one to avoid—it absorbs moisture and holds it against your skin, which in a UK winter means you’re cold, damp, and staying that way. A merino base is worth the extra cost for most: it manages moisture well, doesn’t hold odour like synthetic can, and keeps functioning when it’s damp.
Layer 2 — Mid: insulation. This is where your fleece, wool jumper, or synthetic insulated layer lives. Its job is to trap still air and retain body heat. For rucking, a breathable mid-layer matters more than a very warm one—you want something that lets some moisture through rather than trapping it all. A lighter fleece that breathes well is usually a better choice for load carriage than a heavy insulating layer, unless you’re specifically training in conditions where staying warm is the limiting factor.
Layer 3 — Shell: weather protection. Your outer layer needs to keep wind and rain off the layers below without trapping all the moisture moved there by your base and mid. A waterproof/breathable membrane (Gore-Tex and its equivalents) does this—it stops water getting in while allowing water vapour to escape. A non-breathable waterproof layer will keep you dry from the rain, but it will also keep all your sweat inside the jacket, resulting in a soaked base layer by the end of a hard session.
One more adjustment gets overlooked: pack strap management when wearing winter layers. Your hip belt and sternum strap sit against your body differently when you’re wearing extra insulation. Loosening them slightly to accommodate thicker clothing—then re-tightening once you’ve settled into your stride—prevents the pressure points that cause chafing on longer sessions.
Footwear That Doesn’t Trap Sweat
This is where the same heat-versus-insulation problem shows up again, one layer down. The key consideration for winter load carriage isn’t warmth—it’s drainage and breathability. A fully waterproof boot will keep water out, but it will also trap sweat inside, leaving your feet damp regardless of the weather outside. In a UK winter, a shoe or boot that drains well and dries reasonably quickly is usually more practical than one that’s fully sealed. Grip matters just as much: muddy trails, wet grass, slick coastal paths—these are the surfaces you’re likely to be on, so footwear with genuine traction is worth prioritising over outright waterproofing. Watch for the trade-off in the other direction too—shoes with aggressive grip and a snug fit often run warm, which needs factoring into your overall layering.
📺 Watch: The Injinji Liner Series — Injinji
For more on choosing footwear for uneven, wet UK terrain, see our guide to when you actually need ankle support from a boot.
Visibility and Keeping Your Kit Dry
UK winter means short daylight hours—a session that starts at 4pm is going to end in the dark on most routes, and that’s a safety issue, not a nice-to-have. Reflective kit, a headlamp, and high-visibility clothing aren’t accessories; they’re part of the system. A decent lightweight headlamp (roughly £15–£35 depending on brightness and battery life) is one of the best pieces of gear you can add, and it fits in a jacket pocket when you don’t need it. The Klarus HM1 (paid link) is a rechargeable USB-C headlamp (440 lumens, up to 70 hours runtime) that sits right in that price band and rates well (4.6 stars) on UK reviews. Reflective tabs on your pack and a light on any visor or hat you wear noticeably change how visible you are to drivers and other path users in low light.
Check Klarus HM1 price → (paid link)
📺 Watch: How I Pack a Backpack for Hiking (with a PACK LINER) — Chase Mountains
Your pack itself needs the same thinking applied to it. Most decent rucksacks built for UK conditions include a built-in waterproof cover—check yours has one. If it doesn’t, a roll-top dry bag (around £10–£15 for a size that’ll swallow spare layers) is a cheap, effective fix that keeps your kit dry regardless of what the weather does.
Frequently Asked Questions
Can I wear cotton leggings for winter rucking?
No. Cotton absorbs sweat and holds it against your skin rather than moving it away. In cold conditions, a damp cotton layer is actively dangerous—it conducts heat away from your body and stays cold. Use synthetic or merino base layers for anything load-bearing in winter.
How much weight should I carry in the winter?
Start lighter than you think. The extra insulation from your layers will make you feel warmer, which means you don’t need as much load to get the training benefit. As a rough guide, if you’re comfortable at 15kg in a summer session, start winter at 10–12kg and build back up over a few weeks as your body adapts to the cold.
What should I do if I start to overheat?
Stop and remove a layer immediately—don’t wait until you’re heavily sweating. A damp base layer at 3°C is worse than a light one, because the moisture is now conducting heat away from your body at a much faster rate. The “wet T-shirt” effect can drop your core temperature faster than the cold air alone.
Is it safe to ruck in snow?
Yes, with two adjustments: footwear with good traction (or microspikes if conditions are icy) and awareness that pace will be slower and footing less predictable. Trekking poles are worth considering if you’re regularly training in icy or snowy conditions—they shift some load and improve stability on uncertain ground.
Do I need a special winter rucksack?
Not necessarily. A standard rucksack works fine—what matters is waterproofing your kit inside it. Use a pack cover or dry bag to protect your gear from rain and snow. If you’re in the market for a new pack, look for one that comes with a built-in waterproof cover, which is standard on most packs designed for UK conditions.
Dress for the Exertion, Not the Forecast
Come back to the two numbers from the start: the one on the weather app, and the one your body actually generates once it’s carrying weight. The honest answer to staying warm rucking in a UK winter is that only the second number matters for what you wear. It’s not about adding more kit—it’s about managing the microclimate around your body: starting slightly cold, using layers that each do one job well rather than several jobs adequately, and shedding a layer before you overheat rather than after.
The base layer decision is where most of this hinges, and it only works if you’ve matched it to effort, not temperature. A fleece-lined thermal layer earns its place in the hardest, lowest-output winter conditions—the kind of cold where your legs would otherwise be radiating heat into nothing. Push the pace or the load up and a sweat-wicking standard layer becomes the more practical choice, whatever the forecast says. For the wider terrain and weather picture beyond just clothing—route choice, footing, event-day conditions—our guide to rucking in UK terrain and weather covers the rest of the system this article doesn’t.
Winter rucking isn’t comfortable in the way a summer session is. But get the layering logic right and the training benefits—load carriage conditioning, cold-weather cardiovascular adaptation, the grit that comes from training through conditions rather than around them—are worth the faff of setting off underdressed on purpose. The background reading behind the physiology here draws on general cold-weather guidance from the NHS, Mountaineering Scotland and the British Mountaineering Council, alongside published research on the metabolic cost of load carriage.
If you’re putting together your first rucking kit or auditing what you’ve got, the Free First Ruck Gear Checklist walks through the essential pieces—base layers, mid-layers, footwear, and visibility kit—so you can see what you’ve got covered and what still needs buying. It’s the practical next step after reading this, not a sales pitch—just the honest list.