Can Your Ruck Gear Survive UK Seafronts?
As an Amazon Associate we earn from qualifying purchases. Some links on this page are affiliate links, which means we may earn a small commission if you make a purchase.
Pull the zip on a rucksack that has spent a season on a British seafront and look closely at the metal. That is what salt air does to gear left unprotected—not gradually and invisibly, but in specific, predictable places where hardware meets moisture: zip pulls, buckle springs, D-rings. Concrete does its own version of the same thing to feet and knees, mechanically rather than chemically. No give, no cushion, the same hard impact on every single step.
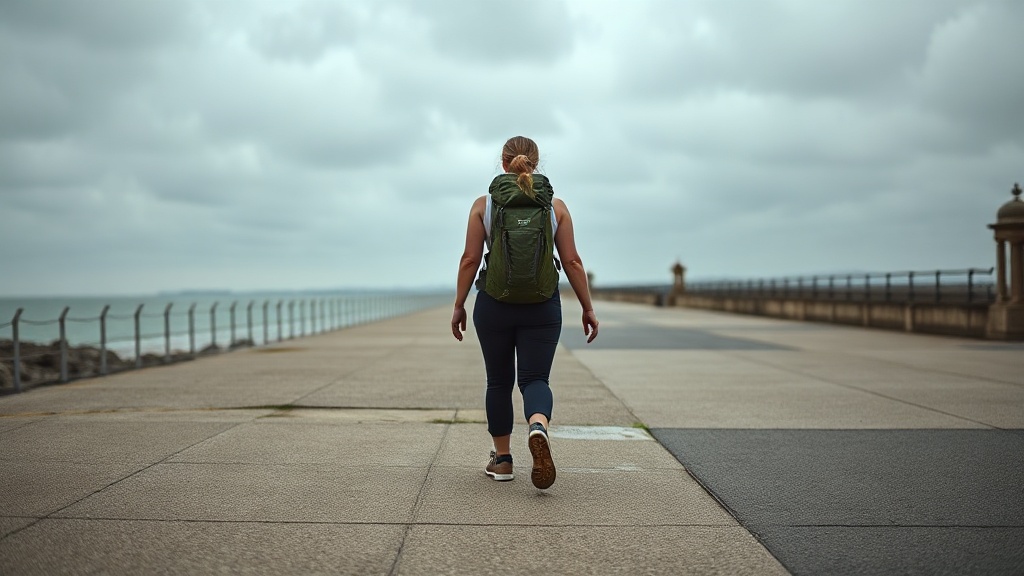
Rucking on a UK seafront looks appealing from the train window—fresh air, open space, a route measured in kilometres rather than laps around a park. What that view doesn’t show is what a winter of salt exposure does to kit, or why the wrong shoes turn a 45-minute walk into a blisters-and-regrets situation by the 20-minute mark.
This piece looks at the mechanics of UK coastal terrain, what it does to gear, and how to make sure the surface and the salt don’t beat you before you have gone a mile.
The Verdict on Surface: Concrete vs. Rocks vs. Mud
The honest answer: paved concrete seafront paths are the safest, most consistent surface for weighted rucking in the UK, provided you time your walk to avoid high tide.
The mechanism is simple and physical. Concrete provides a non-rotational, consistent surface that resists slipping—geometric confidence, not guesswork. Your foot lands on the same texture it would have landed on ten steps ago, and ten steps from now. There is no hidden rut, no loose stone shifting under load, no surprise patch of wet mud that wasn’t there a moment ago. That predictability matters more than most beginners realise. When you are carrying 15kg or more, your gait shortens slightly and your foot lands slightly flatter than it would unloaded. Uneven terrain amplifies that instability; concrete does not.
Paved surfaces reduce the risk of twisted ankles and impact-related injuries compared to uneven ground. That is not a small thing when you are three miles from the car and your knees are already feeling the cumulative effect of the hard surface. Downhill braking on concrete is predictable—you know where your foot will grip and where it will not.
The one non-negotiable caveat: high tide cuts off sections of coastal walks, and you need to know the timetable before you set off. Stepping onto a seafront path that ends in water is not the kind of surprise that makes for a good story afterwards.
Rocks and rocky terrain offer high friction points that can grip footwear, but they require constant active foot placement—and that demand does not scale well with distance or load. A short scramble to a scenic point is one thing. A 45-minute ruck over jagged rock is exhausting and increases the risk of foot injury and instability the whole way. If you are heading somewhere specific and you have planned for it, rock can work. For a regular weekend ruck on a consistent route, it is the wrong call.
Muddy patches on rock are the real trap. Mud adheres to rock and creates a slippery layer that looks like solid ground until it isn’t. Patches can be a bit muddy after rainfall, and on rock this can be slippery, so suitable footwear is recommended. That observation from coastal walkers is the plain-English version of the mechanism: what looks like grip is actually a moisture layer between your sole and the surface, and it is exactly where twisted ankles happen.
The decision breaks down to this: how often are you rucking here, and how bad would a fall be? One-off trip to a scenic stretch with prepared footwear—rock is manageable if you have planned for it. Every weekend, same route, carrying weight—concrete is the call, and the tide timetable is the one thing you check before you leave the house.
If you are new to rucking and want to understand the basics before heading to the coast, the rucking for beginners guide covers load selection, pacing, and how to build a routine that does not end in regret.
Now you know what surface you are looking for—Get the Free First Ruck Gear Checklist to make sure the rest of your kit is ready for the coast.
Footwear for Concrete and Salt Air
The surface verdict tells you where to walk. Footwear tells you how long you can keep walking there.
Concrete on a UK seafront is not just hard—it is often damp, sometimes wet, and always exposed to salt. Those three conditions together separate seafront rucking from trail rucking in the gear stakes. Salt spray degrades shoe uppers over time, and the adhesives that bond sole to upper are genuinely vulnerable to prolonged salt-air exposure. If you are rucking coastal routes regularly, you are looking at months rather than years before budget footwear starts showing signs of failure at those bond points.
The Inov-8 Trailfly G 270 (paid link) is the shoe that comes up most consistently in owner discussions when the brief is concrete seafront durability. Graphene-enhanced rubber outsole gives good grip and long life—owners report the outsole holding up well over hundreds of kilometres before noticing meaningful wear. It is a rugged trail shoe with a long lifespan, and the grip holds up on harder surfaces like concrete where some trail shoes feel sketchy. The trade-off is that it is a firm, zero-drop shoe. Limited cushioning and a 0mm heel-to-toe drop mean it rewards good form and penalises heavy heel-strikers. If you have been running in maximalist cushioned shoes, the Trailfly will feel harsh at first. It is not wrong—it is just honest about what it is built for.
See it on Amazon → (paid link)
The Decathlon Evadict XT6 is the functional budget option, and the honest assessment is that it is functional. Some buyers report strong durability for the price, and if you are rucking a couple of times a week on concrete, it will see you through. But the grip is average, the responsiveness is poor, and owners describe the ride as clunky and harsh compared to premium models. It is worth its salt for someone who wants to try seafront rucking without spending £120+ on footwear they are not sure they will use. For regular use, the Trailfly is the better call—the cost difference is real, but so is the gap in durability and grip.
Fit matters more on concrete than on trail. Under load, feet flatten and lengthen slightly, and a shoe that fits perfectly unloaded can create a hot spot once 15kg is added. Check your fit before you buy: you want enough room in the toe box that your foot can spread under load, but enough hold through the midfoot that it does not slide. The Trailfly’s forefoot is wide—owners with narrower feet sometimes report the midfoot and heel feeling less secure. The Evadict has sizing inconsistency issues that make this harder to predict.
If you are pairing your footwear with a weighted vest for seafront sessions, the weighted vest vs rucksack guide covers how load placement affects your gait and what to look for in a vest that works with your chosen shoe.
Packs That Handle the Elements
Salt air and wind-driven rain are rough on packs in ways that are not obvious until you have owned one through a British winter. The failure points are not the fabric—most decent packs handle UV and moisture exposure fine. The weak link is the hardware: zippers, buckles, and any metal components that sit in the salt spray and then get packed away damp. Corrosion on a zipper pull or a buckle latch is the kind of failure that ends a session early and, if it happens on a longer ruck, can leave you carrying load without a functional closure.
The GORUCK GR1 is the pack that owners mention when the brief is long-term durability in harsh conditions. Extremely tough, bomb-proof construction with premium materials and craftsmanship—owners often report getting 10 years with no sagging or zipper failure. That longevity is the real cost of entry. A GR1 listing in the UK market sits around £340, which is not a small number. But for someone rucking coastal routes every weekend, the “buy-it-for-life” argument holds. The trade-off is that it has basic features compared to cheaper packs. No built-in waist belt, no water-bottle pockets, and the front pocket can be hard to access when the bag is packed full. If you want a pack that is also a travel bag and an everyday carry, the GR1 does both—but it does not do either with the organisational bells and whistles of a pack at half the price.
The Snugpak Response Pack is the practical hip-pack alternative for bushcraft and low-profile carry. Sturdy build and useful capacity for its size, comfortable as a hip pack for essentials. It is not an urban carry bag—the look is utilitarian, and the capacity (a few litres) is tight if you are carrying more than a plate, layers, and snacks. But for someone who wants a durable grab-and-go system for coastal rucks without the military aesthetic, it is worth considering. The trade-off is capacity: it works for a ruck plate and the essentials, not for a full kit load.
Load placement on a seafront ruck follows the same logic as anywhere: keep the load’s centre of mass close to the body and the pack high and snug to reduce sway and inefficiency. On concrete, where every step is a hard impact, unnecessary sway is wasted energy and extra stress on your knees. A pack that sits low and swings with each step will wear you out faster than the same weight in a pack that locks down tight.
For a broader look at what else belongs in your kit, the rucksack buyer’s guide covers plates, straps, and the accessories that make a difference on longer sessions.
Managing Blisters and Chafing in Wind
Concrete is consistent, which means your feet are working consistently—same surface, same friction, same impact, mile after mile. That consistency is a gift for predictability, but it also means any hot spot that starts will keep getting worse if you do not address it.
📺 Watch: Ruck Marching/Tabbing - How To Stop Blisters — Military Fitness
The triggers are friction, moisture, and poor fit. On a seafront, you usually have all three. Salt air holds moisture against the skin, wind can whip clothing and create chafing points on armpits and inner thighs, and under load your feet are doing slightly more work than they would unloaded. The rule that experienced ruckers follow is simple: check your feet every 20-30 minutes. A hot spot is a warning, not a badge of honour. Stop, address it, and adjust before it becomes a blister.
Sock choice matters more on coastal routes than on trail. Merino wool outperforms synthetic for moisture-wicking in humid, salty air—it manages moisture without holding it against the skin the way some synthetics do. The Darn Tough Run (paid link) comes up repeatedly in owner discussions for seafront and load-bearing use: very durable, strong moisture-wicking, and the snug fit means no slipping or rolling inside the shoe. Merino socks cost more per pair than synthetic alternatives, but they typically last several times as many washes before losing their structure. For regular ruckers, that is a genuine cost saving in practice even if the sticker price looks higher.
View Darn Tough Run on Amazon → (paid link)
Anti-chafe balm is worth carrying on any seafront ruck over 30 minutes. Wind can create friction points that would not exist on a still day—the movement of clothing against skin under load is amplified when there is resistance from the wind. Body Glide (paid link) and Squirrel’s Nut Butter are the products that come up in this context; the specific brand matters less than using something. Apply it before you set off, not when you first notice the chafe.
Buy Body Glide on Amazon → (paid link)
Footwear fit under load deserves a check before you leave. Feet swell in heat and humidity, and a shoe that fits perfectly at the start of a 45-minute ruck can feel tight by the end. If you are between sizes or have a wider forefoot, err towards the roomier fit—the slight loss of precision is worth not having your toes compressed against the front of the shoe for the last mile.
Related Guides
For a complete overview, see our Rucking in the UK: Terrain, Weather, and Event Guide.
For more detail on prevention and what to do when things start to go wrong, the blister prevention guide covers socks, foot care, and how to spot the signs early.
Frequently Asked Questions
Is it safe to ruck on wet concrete?
Wet concrete offers good traction—the surface does not become dangerously slippery the way polished tile or some painted surfaces do. The risk is sudden puddles that can hide debris or create an uneven landing. As long as the surface is not icy, wet concrete is manageable. Wind-driven rain is a separate issue: it soaks through non-waterproof fabrics, so check your jacket before you set off rather than when you are already wet.
Do I need waterproof gear for seafront rucking?
Yes, in the sense that salt spray and wind-driven rain can soak through non-waterproof fabrics. Look for Gore-Tex or similar membranes in footwear and jackets. The seafront environment is damp more often than dry, and a non-waterproof jacket that seems fine for a 20-minute walk becomes a problem on a 45-minute ruck in persistent drizzle. Your kit will also last longer if you rinse salt residue off after coastal sessions—salt accelerates wear on stitching and hardware.
How much weight should I carry on a seafront ruck?
Start with 10-15% of your body weight. If you are new to rucking, begin with a lighter load and build gradually over weeks—your feet and joints need time to adapt to the hard surface. Concrete is consistent, which is great for predictability, but it does not absorb impact the way trail surfaces do. The cumulative stress on knees and ankles is real, and it is worth building load gradually rather than loading up in week one because a US influencer does it.
As an Amazon Associate we earn from qualifying purchases. The products linked above are ones we recommend based on independent research and owner feedback.
What Actually Survives the Coast
| Surface | Best For | Key Risks |
|---|---|---|
| Paved Concrete | Regular rucking, consistent training | High impact on joints, requires timing around tide |
| Rocky Terrain | Scenic one-off trips | Instability, foot injury risk, slippery mud patches |
| Mud | Short scrambles | Slippery layers, hidden ruts, twisted ankles |
| Mixed Terrain | Variable conditions | Unpredictable footing, increased fatigue |
| Hard Sand | Low-impact walking | Soft surface, uneven ground, sinking sensation |
Go back to that corroded zip pull from the opening. It is not a fabric failure, and it is not really a bad-luck failure either—it is what happens when hardware sits in salt air without anyone rinsing it off. UK seafronts are genuinely good for rucking: the routes are measurable, the surfaces are consistent, and the wind and salt make it feel like proper work. The decisions that keep gear intact are straightforward—concrete over rock for regular use, a walk timed around the tide, footwear and socks that handle moisture and abrasion, and a pack whose zippers and buckles you actually pay attention to.
Fabric rarely fails first on a coastal route. Hardware does. Rinsing salt residue off a pack and shoes after a session, and buying kit with corrosion-resistant metal in the first place, is a smaller habit than most people expect for how much wear it prevents.
If you are ready to check whether your current kit is up to the task, the Free First Ruck Gear Checklist walks through the essentials: footwear, socks, pack, and the small items that make the difference between a session you finish strong and one you limp through. Get the Free First Ruck Gear Checklist