Rucking Troubleshooting: Blisters, Chafing and Pain — What Actually Works
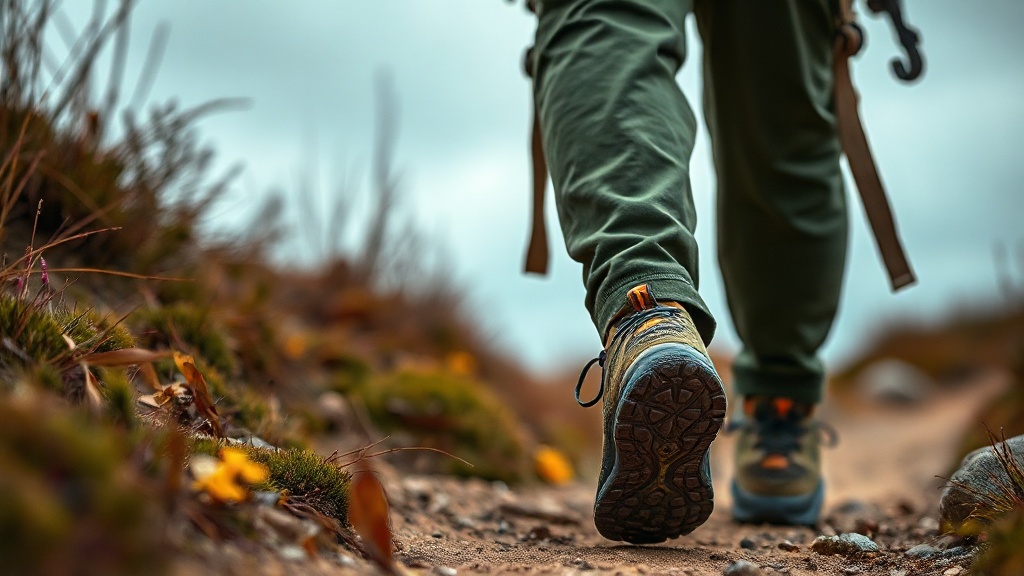
Blame the boots. Blame the socks. Blame “just needing to toughen your feet up.” None of it survives a closer look at what’s actually going on under the skin: friction — specifically shear, skin sliding against itself or against gear — once moisture and load are thrown into the mix. That’s the entire mechanism, and getting it straight changes how you prevent it. Three methods handle that friction in genuinely different ways: anti-chafe balms, moleskin, and toe socks. One bad blister can end a training block, which is reason enough to get the prep right rather than guess at it.
Why Rucking Blisters Happen (The Mechanism)
Friction is the resistance to one surface sliding over another. In rucking, what matters is how that friction actually damages skin.
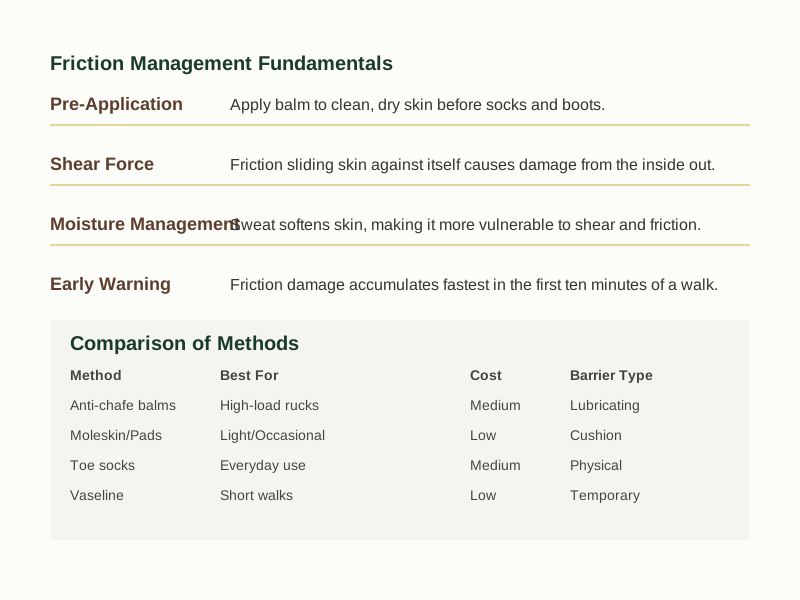
Shear force is the culprit. This is skin sliding against itself or against another surface — and it tears from the inside out, which is why you can’t always see the damage starting. It differs from pressure, which is weight pushing straight down onto skin. Shear causes the blister; pressure is just what you feel on top.
Moisture accelerates the process. Sweat softens the outer layer of skin, making it more vulnerable to shear. Add 10–20kg to a walk and your feet work harder, generating more heat and sweat — and more friction. A pair of boots that fits perfectly unloaded can create a hot spot once load is added, because the foot flattens and spreads slightly under weight.
The critical detail most guides skip: friction damage accumulates fastest in the first ten minutes of a walk, before your skin has had time to adapt. This is why blisters often appear in the first mile of a longer ruck — by the time the walk feels comfortable, the damage is already done.
The “Missing Step” — Timing Your Anti-Chafe
Most people apply balm after a hot spot appears. The missing step is pre-application: put the balm on clean, dry skin before you put on socks and boots.
Here is why it matters. A lubricating barrier reduces shear force before it starts — not after. By the time you feel the hot spot, the skin damage has already begun. The correct sequence is: clean skin, dry skin, apply balm, then load up. If you apply balm to already-irritated skin, you can trap moisture against it and make things worse.
The mechanism is straightforward: friction damage starts fastest in those early minutes, and pre-application prevents it from beginning in the first place. This is the missing step every guide assumes you have already covered.
Anti-Chafe Balms vs. Moleskin vs. Toe Socks
Three methods handle friction prevention differently. Here is how to pick the right one for your situation.
📺 Watch: 5 ways to PREVENT FOOT BLISTERS — The London Podiatrist
Anti-chafe balms (e.g., Bull Balm, or a widely-available option like Body Glide (paid link)) create a lubricating barrier that reduces shear force between skin and gear. They’re best for one-off events and high-load rucks — situations where a blister would be genuinely costly. If you have a 15–20km event coming up and can’t afford to be slowed down, this is what you reach for.
View Body Glide on Amazon → (paid link)
Moleskin and pre-cut pads (e.g., SpecOps Thin Athletic Moleskin) act as a secondary cushion, absorbing friction and pressure at the contact point. They’re best for tight budgets and light, occasional use. They’ll take the edge off, but they’re a reactive layer rather than a proactive barrier.
Toe socks (e.g., Injinji) physically separate each toe, eliminating skin-on-skin friction at the source. Each toe is wrapped individually in sweat-wicking material, which also helps manage moisture. They’re the strongest option for repeat, everyday use — once you understand why toe separation matters, it’s hard to go back to standard socks.
Weigh it up on two things: how often you ruck, and how much a blister would actually cost you. One-off hard event, high cost of failure → anti-chafe balm. Daily training → toe socks. Occasional light use on a tight budget → moleskin.
One caveat: the dominant cause of outside pinky toe blisters is a curly 5th toe, which toe socks may not fully resolve on their own — a balm or tape fix is often needed on top.
At a glance:
| Method | Best For | Cost | Barrier Type |
|---|---|---|---|
| Anti-chafe balms | One-off events and high-load rucks | Medium | Lubricating barrier |
| Moleskin and pads | Tight budgets and light, occasional use | Low | Secondary cushion |
| Toe socks | Repeat, everyday use | Medium | Physical separation |
| Vaseline | Short walks only | Low | Temporary barrier |
| Saline wash | Aftercare for intact blisters | Low | Cleaning agent |
Now you know what to look for — Get the Free First Ruck Gear Checklist, which includes a pre-ruck skin-prep routine.
Pain Relief and Aftercare
If a blister has already formed, here is how to handle it without making it worse.
📺 Watch: Walking Stretches that Relieve Muscle Soreness after Walking and Hiking - 10 Min Routine — Michelle Kenway
Clean the area gently with water or saline. Avoid harsh antiseptics — they can irritate an already-damaged spot. Leave small, intact blisters alone. They act as a natural cushion over the damaged skin underneath and will heal faster if left undisturbed.
For larger blisters that are more likely to rupture, protect them with moleskin or a blister bandage to reduce further friction. The key rule: do not pop a blister. Puncturing the skin increases infection risk and can slow healing considerably.
If pain persists or worsens, see a GP or physio rather than working through it — this article is general guidance, not a substitute for someone who can actually look at your foot. Blisters are caused by friction from improper socks, moisture, or ill-fitting boots — the real solution is prevention, not treatment.
Frequently Asked Questions
Can I use Vaseline instead of anti-chafe balm?
Vaseline can work as a temporary barrier — it’s cheap and most people have it handy. The problem is that it’s not formulated for sustained friction under load: it washes off with sweat relatively quickly and can leave skin feeling greasy. Dedicated anti-chafe balms are designed to stay put through sustained movement, so for anything beyond a short walk, the balm is worth the small extra cost. Vaseline is a last resort, not a first choice.
How often should I reapply anti-chafe balm?
Most balms last two to three hours before sweat begins to break them down. For long rucks, carry a small travel-sized tube and reapply if you notice a hot spot returning. For shorter sessions under an hour, one pre-application is typically enough.
Are toe socks worth it for short walks?
On a short, dry walk there’s not enough time for moisture to build up and friction to accumulate, so the benefit is minimal. Once your sessions run long enough for sweat and repeated rubbing to become a factor, toe socks make a noticeable difference. If that’s your typical ruck, they’re worth the investment.
Can I use moleskin on a popped blister?
Yes, but clean the area first and apply a non-stick pad or gauze over the blister before putting moleskin on top. This prevents the adhesive from sticking to the raw skin and causing more damage when you remove it.
What if my rucking boots are causing the blisters?
Ill-fitting boots are a common culprit. Check for pressure points around the toes and heel, and make sure your socks aren’t adding bulk in all the wrong places. Breaking in your boots before a long ruck and using socks designed for hiking rather than everyday cotton can prevent most friction-related blistering.
Fix the Skin Before the Symptom
Rucking is about consistency, not perfection. A few minutes of prep before your walk can save you days of recovery — and that consistency is what builds fitness and keeps you coming back week after week. None of this is exotic: it’s the same friction-and-moisture logic behind NHS blister guidance, backed by the Chartered Society of Physiotherapy and Sports Medicine Australia on the treatment side. Now you know what fair prep looks like — Get the Free First Ruck Gear Checklist to make sure your first ruck is sorted before you head out.
Explore More Topics
Go deeper on specific topics:
- Why Your Feet Blister Under a Rucksack But Not Without One
- How to Stop Rucking Chafing (Without Buying 10 Products)
- Anti-Chafe Balms for Rucking: Which Ones Actually Work?
- Can Rucking Damage Your Knees? (What’s Normal vs. Injury)
- How to Fix Lower Back Pain When Rucking (Without Changing Your Pack)
- Shoulder Strain from Rucksacks: Adjustments That Help
- How to Fix a Hot Spot Mid-Ruck (Without Stopping)