Why Your Feet Blister Under a Rucksack But Not Without One
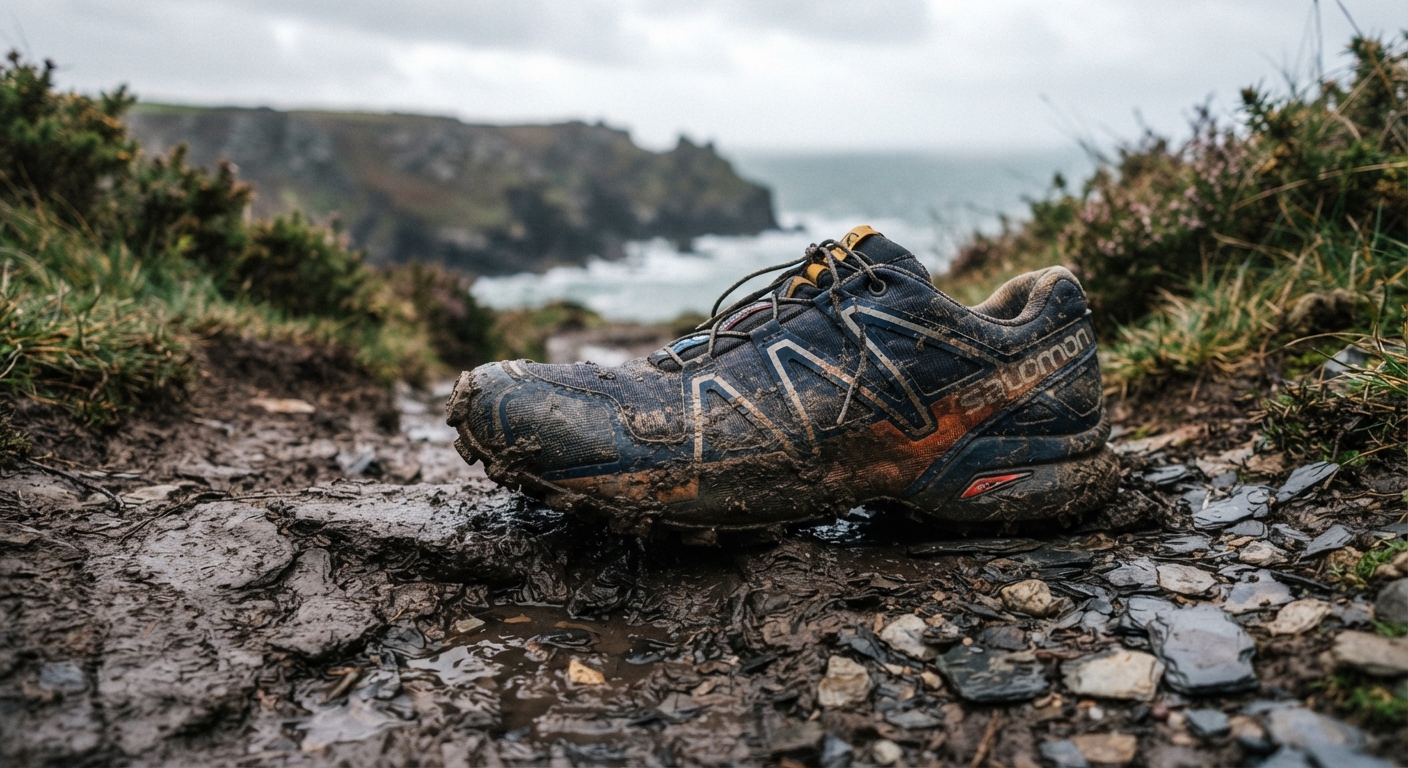
You’ve done everything right. Bought the rucksack, loaded it up, set off on your first proper ruck — and by mile three your heels are burning. You stop, pull off your boot, and find the unmistakable hot, wet sting of a blister forming. The infuriating part? You walk the same routes without a pack and your feet feel completely fine.
Here’s the part that doesn’t add up if you blame your feet or your shoes: same feet, same boots, same route — the only thing that’s different is the weight on your back. That’s the actual clue. Load doesn’t just sit there; it reaches down into how your foot lands and rolls with every single step, and that shift in mechanics is what starts the blister, not a lack of toughness. Once you see the mechanism, the fix stops being guesswork.
This article explains exactly why it happens, what gear actually helps (and what doesn’t), and the specific adjustments that stop blisters from forming in the first place.
The Comfort Trap
There’s a comfortable baseline you’ve built up over years of walking: shoes that fit well, a natural cadence, feet that come out the other end without a mark on them. For general walking, the bar is straightforward — any shoes or trainers that are comfortable, provide adequate support and do not cause blisters will do. Walking is one of the easiest ways to get more active, and for stamina, cardiovascular health, and keeping mobile as you age, an unloaded walk does exactly what it says on the tin.
Here’s the trap: shoes that earn that comfort rating under your body weight alone don’t tell you anything useful about how they’ll behave once you’ve strapped 10, 15, or 20kg onto your back. A shoe can fit like a glove on a casual Saturday walk and start acting like a sandal the moment load enters the equation. The “comfort/no blisters” criterion that works for general walking is a poor predictor of performance under load — and most buyers never find this out until they’re already three miles in with raw heels.
The Mechanics of Load
The core mechanism is this: when you add a rucksack, the weight shifts your centre of gravity slightly forward. Your body compensates automatically — you land slightly harder on your heel to brake the load, and your foot pronates more on each step to maintain stability. That increased pronation is the part nobody talks about.
📺 Watch: WALKING / how to walk in barefoot shoes with heel or forefoot — Andrew Folts
Friction blisters are a common injury sustained by individuals participating in sporting, recreational, and military activities. What the research shows is that repetitive micro-movement between your foot and the shoe interior — caused by that pronation change under load — is the primary driver of blister formation on the heel and medial arch. Your heel isn’t slipping because your shoe is too big; it’s slipping because the combination of forward weight and increased pronation lifts and repositions your heel slightly with every step. Keep that up for a few thousand steps and you’ve generated enough shear force to separate the outer layers of skin.
The practical implication is one most people miss: you need to lace your shoes differently for rucking than you do for normal walking or running. A heel-lock lace pattern — threading the lace through the bottom eyelet and pulling it tight before tying — cinches the collar around your ankle and physically prevents your heel from sliding forward. It’s a small adjustment, but it’s the single most effective technique change available to you, and almost nobody does it instinctively.
The other piece is that under load, your foot actually flattens and lengthens slightly as the arch compresses. A shoe that fits perfectly without a pack can become genuinely tight once you’ve been rucking for a while. The combination of a slightly longer foot and a slightly more pronated position inside a shoe that hasn’t been laced to account for it is exactly how blisters form on the medial arch as well as the heel.
The Solution: Fit, Friction Control, and Gear
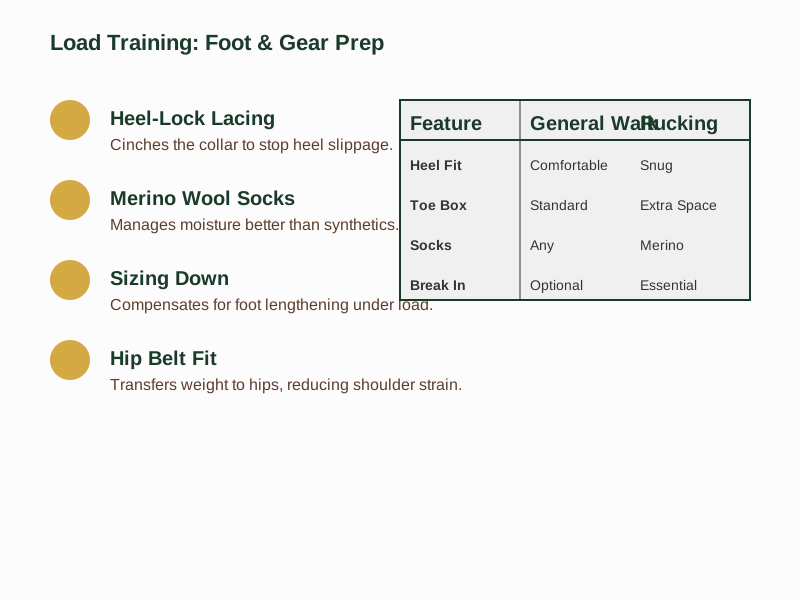
Three things prevent rucking blisters: getting the fit right, controlling friction, and not making your feet adapt to new kit at the same time as new load. The short version is below — the reasoning behind each row follows in the sections underneath.
📺 Watch: How to Lace Walking Boots for Ankle Pain — Trekitt
| Feature | General Walking | Rucking Under Load |
|---|---|---|
| Heel Fit | Comfortable, no slippage | Snug, no slack, heel-lock lacing recommended |
| Toe Box | Adequate room | Extra space to prevent toe compression |
| Sock Choice | Any comfortable pair | Merino wool or moisture-wicking synthetic |
| Break In | Optional | Essential (30-50km unloaded first) |
Fit
If you can slide your finger under your heel collar with the shoe on, you will blister. The heel needs to sit snug from the moment you put the shoe on — not so tight it cuts circulation, but with no slack.
Here’s where rucking fit works against itself a little: your foot also lengthens and flattens slightly under load, so a shoe with no spare room at the toe end will pinch by the second mile even though it felt fine in the shop. You can’t fix both problems by simply going smaller. Most experienced load-carriers stay true-to-size or go half a size up for the extra length, then rely on the heel-lock lacing described above to take up whatever heel slack that extra room creates. Size down to chase a snug heel and you’ll usually just trade heel blisters for toe ones.
Friction Control
This is where the sock decision matters more than most buyers realise. Merino wool socks — brands like Darn Tough (paid link), Smartwool, or a solid Decathlon merino blend — manage moisture better than synthetic blends and don’t lose their structure over distance the way cheaper socks do. Switching to merino is one of the few single changes that reliably cuts blister frequency without touching your shoes or your load at all: moist skin generates far more friction than dry skin, and merino’s fibre structure keeps a drier layer against your foot for longer than synthetic blends manage. Cotton does the opposite — it holds moisture, softens skin, and dramatically increases friction. Never wear cotton socks on a ruck.
Check Darn Tough price → (paid link)
For known hot spots — heels, toes, the ball of the foot — applying moleskin or a purpose-made blister patch before you set off is considerably more effective than dealing with a blister halfway through your route. It takes 30 seconds and can save you days of healing time.
Breaking In
New shoes under a heavy pack is one of the most reliable ways to generate blisters fast. Break in new footwear on unloaded walks first — build up to at least 30-50km, more if the upper is leather rather than synthetic mesh — before you add any significant weight. Your feet need to adapt to the shoe, and the shoe upper needs to soften and mould to your foot shape. Doing both at once, under load, is the shortcut to pain.
Pack Fit
This one gets overlooked entirely, but it’s directly relevant: a hip belt that sits correctly on your iliac crest (the bony prominence at the top of your hip) transfers load from your shoulders to your hips and legs, which changes the whole-body mechanics of how you move under load. Less shoulder strain means less forward lean, which means less compensatory pronation. Pack fit isn’t just about comfort — it directly affects foot mechanics. If your pack has a hip belt and you’re not using it properly adjusted, that’s a fix worth making before you blame your shoes.
Now you know what to look for — Get the Free First Ruck Gear Checklist for a vetted list of socks, shoes, and blister-prevention gear that’s been tested under real load.
Red Flags to Watch For
A few warning signs that a blister is forming before it fully develops — catch these early and you can often prevent the worst of it:
- Any hot spot or tenderness on the heel, arch, or ball of the foot appearing within the first 20 minutes
- A damp or warm feeling inside your sock that you can’t attribute to weather
- Visible redness on the skin after removing your boot
- The skin feeling “tight” or stretched in one spot
If you feel a hot spot developing, stop, remove your boot, and apply a blister patch before the skin breaks. Continuing on a hot spot that you can feel developing is how a manageable discomfort becomes a week of healing.
When to See a Professional
A bit of muscle soreness after your first loaded ruck is entirely normal — your feet, ankles, and calves are doing more work than they’re used to. But there’s a clear line between expected fatigue and pain that needs professional attention.
Sharp pain, burning, or numbness that doesn’t ease when you stop is the signal to stop and seek help. Morton’s neuroma is a painful condition that affects the nerves running between your toes in the ball of the foot, and it won’t resolve through better socks or different lacing — it needs diagnosis and, typically, professional treatment. If you feel a persistent burning sensation between your toes or a sensation like standing on a pebble that doesn’t go away, see a GP or podiatrist before your next ruck.
This content is for informational purposes only and does not constitute medical advice. If you’re unsure whether foot pain is normal training discomfort or something that needs investigation, speak to a professional — it’s always better to get it checked.
Frequently Asked Questions
Can I use my running shoes for rucking?
Only if they fit snugly under load — and that means accounting for the fact your foot lengthens and pronates more once weight is on your back. Many people find their “perfect” running shoes feel loose and start causing heel slippage once they’ve been rucking for 20 minutes. The heel-lock lacing technique helps significantly, but if the shoe is genuinely too big in the heel counter, you’ll need a different shoe rather than just a lacing fix. A sturdy trail trainer with a secure heel and a decent toe box will generally outperform a standard running shoe for load-bearing work.
Should I tape my feet before rucking?
If you have a history of blisters on specific areas, yes — tape or moleskin on known hot spots before you set off is genuinely effective. Apply it to clean, dry skin and press it down firmly around the edges. The most common hot spots are the heels, the balls of the feet, and between the toes. Taping after a blister has already formed is less useful; it’s a preventive tool, not a treatment.
Do I need special rucking boots?
Not as such, but you do need the right shoe. The critical features are a secure heel, a grippy outsole, and enough room in the toe box that your toes aren’t cramped under load. Trail trainers generally score well on all three, and they’re lighter and more breathable than most boots. The key isn’t the brand or whether it’s marketed as a “rucking” shoe — it’s fit, friction control, and whether the shoe accommodates the mechanics of a loaded foot.
The honest answer for anyone starting out: your current trail shoes or walking boots will probably work fine for the first few months if you lace them correctly and pair them with decent socks. Spend your money on good socks first — that’s where most of the blister prevention ROI sits.
You don’t have to tough your way through blisters. They’re not a rite of passage — they’re a solvable gear and technique problem. The fix starts with understanding why the load changes your gait in the first place, then working through the checklist: heel-lock lacing, merino socks, properly fitting shoes, and a pack that keeps the weight where it should be. Get the Free First Ruck Gear Checklist and you can skip the trial-and-error phase entirely. For the wider troubleshooting picture — chafing, pain, and fixes that go beyond footwear — see Rucking Troubleshooting: Blisters, Chafing and Pain — What Actually Works.
It Was Never About Toughening Up
None of this comes down to pain tolerance. The blister risk under load traces back to a specific, measurable change in how your foot strikes and rolls once weight is on your back — not to weak feet or the wrong attitude. Get the mechanism right and the rest follows: a heel that’s locked in place, a toe box that isn’t fighting your foot’s own lengthening, socks that keep the friction down, and a pack that shares the load properly through your hips instead of dumping it all through your shoulders and forward lean.
The mechanism above draws on: