How to Fix a Hot Spot Mid-Ruck (Without Stopping)
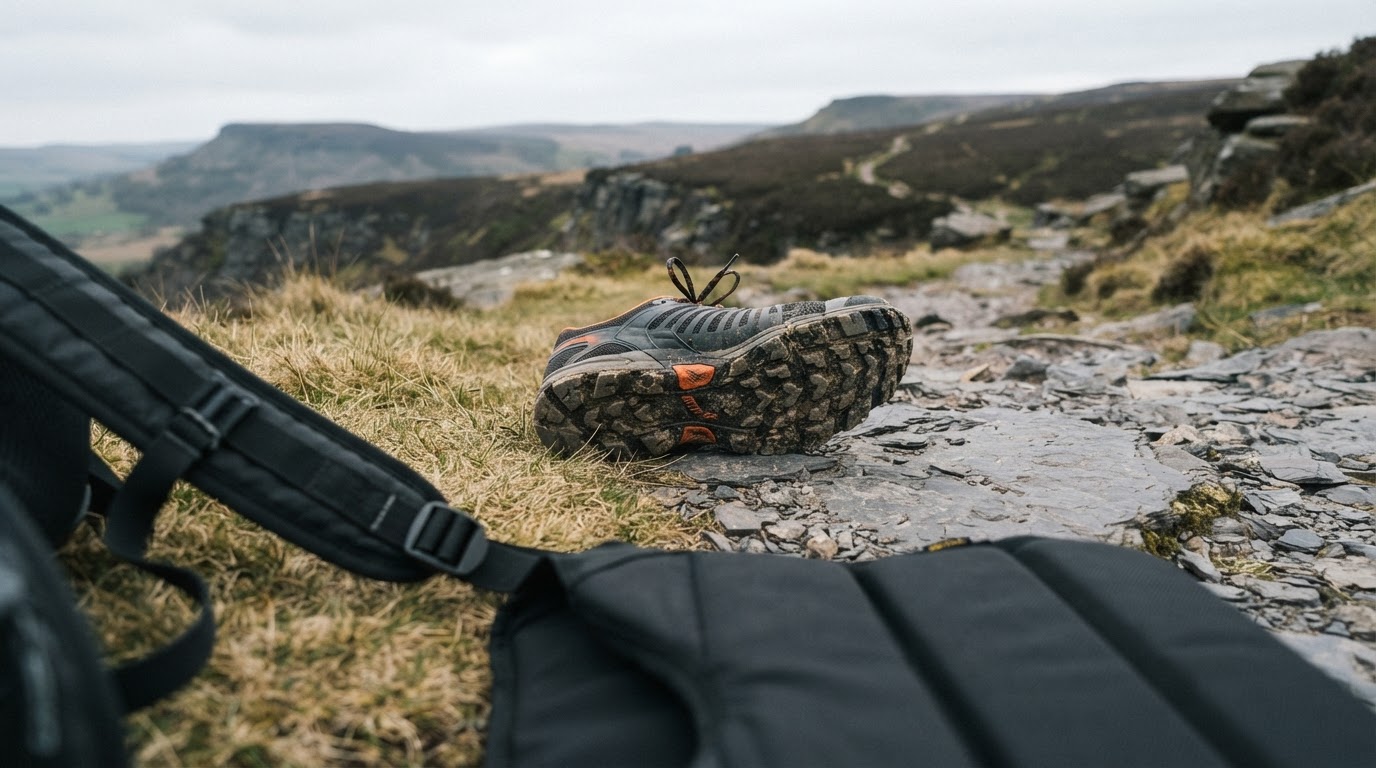
That warm patch on your heel isn’t pain. It’s a countdown. Somewhere between the first flicker of heat and the moment the skin actually separates, you get exactly one window to stop a blister before it forms — and most people miss it because they’re waiting to feel something that hurts.
That’s a hot spot: the early warning signal your body sends before friction turns into a blister. Faced with it mid-ruck, most people do one of two things. They push through and deal with the aftermath later. Or they pack it in and lose the session.
There’s a third option, and it’s the one experienced ruckers use. You can stop this before it becomes a blister — but only if you act on the heat, not the pain.
The Hot Spot Warning System
Friction alone doesn’t cause a blister — it needs heat and moisture in the mix too. A hot spot is that combination still in its early stage: the skin hasn’t separated yet, but all three conditions are already building toward it, and it’s the shear force between the layers of skin that eventually tips it over into a blister.
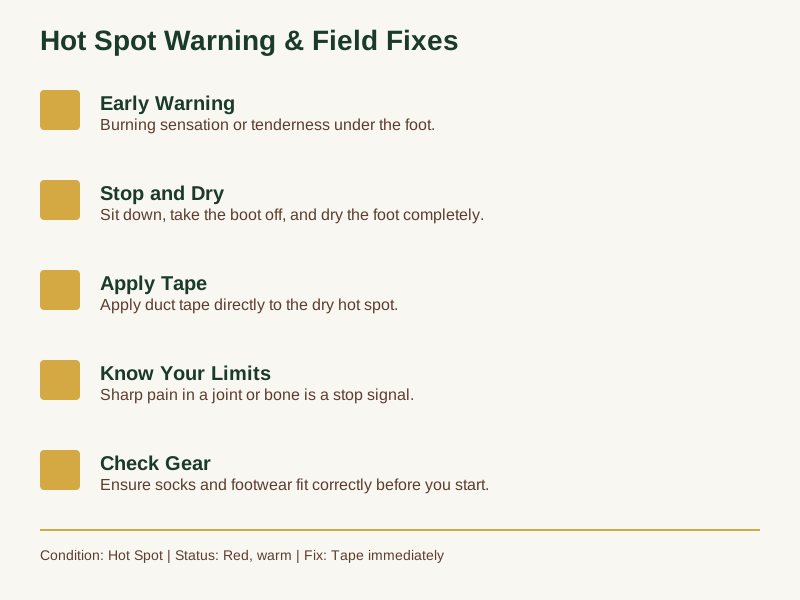
The warning usually comes as a burning sensation or tenderness under the foot — often on the heel, the ball of the foot, or along the outer edge of the little toe. The instep and toe webbing can also flare up, particularly in wet conditions or when footwear is still breaking in.
The honest truth: you get one shot at stopping it. Once the skin actually separates, you’re managing a blister, not preventing one. Hot spots are the only warning you get before that happens; ignoring one turns a fast field fix into days of hobbling.
The Lowa boot-fit guide is worth reading on this point: the moment you feel localised heat or pressure during a hike, that area is already at risk. It’s the body’s early signal, not a minor inconvenience. For ruckers, the problem compounds because added weight changes how your foot strikes the ground and how much heat builds up over sustained distance. A shoe that fits perfectly unloaded can create a hot spot once fifteen or twenty kilograms is in the pack, because the foot flattens slightly under load and creates new friction points.
What makes this worse in UK conditions is moisture. Rain, creek crossings, or even just the sweat that builds up under a heavy ruck in mild weather — wet skin macerates and softens, which reduces its resistance to shear force. That is the mechanism that turns a manageable hot spot into a full blister.
The Stop and Dry Protocol
Here’s the step most guides skip: you cannot fix a hot spot while your foot is wet. This matters more than people think.
📺 Watch: Best Camino Socks for Blister Prevention: Liners, Cushioned Socks & How Many to Pack — RobsCamino
Stop as soon as you feel the heat. Sit down, take the boot off, and dry the foot completely. Use a sock, a bandana, the inside of your jacket — anything that absorbs moisture. This is not optional. Tape applied to damp skin won’t hold — it peels away almost immediately, and then you’ve lost the fix and the time it took.
Once dry, take a look at the skin. Red and warm but intact? That’s a hot spot. Proceed to tape it. If there’s a raised bubble or the skin is already broken, that’s a blister — different management entirely.
The common mistake is trying to tape over a sock or to tape a damp foot on the assumption that the tape will hold. It won’t. Spending two minutes properly drying the foot is what makes the rest of the fix work.
The conditions that create the worst hot spots — extended rain, creek crossings, snow — are exactly the conditions where drying the foot feels like too much effort. That is also when the fix matters most, because continuing on a wet, macerated foot multiplies the damage.
The Duct Tape Fix
Apply a piece of duct tape directly to the dry hot spot, pressing firmly so it adheres fully. The tape acts as a friction barrier; the sock fabric slides against the tape instead of the skin, and that stops the shear force that’s building.
📺 Watch: How to prevent blisters - taping technique — Body Fit Physiotherapy
Cut the piece slightly larger than the affected area. Smooth it down with no wrinkles or bunching. Press the edges firmly, especially around the perimeter. That’s the entire technique.
The missing step in most rucking guides is doing this before the skin breaks — catching the hot spot while it’s still just heat and redness. Once a blister has formed, tape over it becomes a different proposition: you’re trapping moisture and potential contamination under an occlusive dressing, which risks infection. At that stage, clean, protect, and treat properly off your feet.
What makes duct tape the right choice here isn’t that it’s the best material available — it’s that it clears the bar reliably in field conditions. It sticks to damp skin better than most alternatives. It holds through extended rain and mud. It costs almost nothing and weighs nothing.
Moleskin works, but it needs cutting with a hole in the middle to relieve pressure on the hot spot itself, which is a faff in the field. Blister plasters like Compeed do the job for existing blisters, but they’re expensive for pre-taping and not designed for the same purpose. Duct tape does what it says on the tin: it reduces friction and stays put.
For ruckers who do longer events or multi-day routes, carrying a small roll of duct tape is standard practice. It’s one of those things that separates people who finish strong from people who limp back to the car.
The core of the fix is straightforward: stop, dry, tape. Act on the heat, not the pain. Do this at the hot spot stage and you’re preventing a blister. Wait until the skin has separated and you’re managing one.
When to Call It Quits
Field fixes have limits. The duct tape approach works for friction-induced hot spots. It does not work for structural damage, infection risk, or conditions beyond its scope.
If the skin is already raised or broken, tape over the area can trap bacteria and moisture underneath. That’s how a manageable blister becomes an infection risk. At that point, clean the area, protect it with a proper blister dressing, and prioritise finishing without making it worse.
Sharp, localised pain in a joint or bone — rather than diffuse heat across the skin — is a stop signal. Numbness or tingling that persists after adjusting position is also a reason to end the session. These aren’t friction problems; they’re potential structural or nerve issues that no amount of tape will address.
Persistent pain after the ruck, or hot spots that form repeatedly in the same spot even with correct footwear and tape technique, warrants a conversation with a physiotherapist or GP. Recurring foot problems under load can point to gait issues, boot fit problems, or other factors that field tape won’t fix.
NHS guidance on pressure ulcers confirms poor circulation and reduced sensation as direct risk factors, and notes that skin damage from sustained pressure can sometimes develop within hours rather than days — both are common in people with diabetes, even though that’s a downstream link rather than something the NHS page states outright. If either applies to you, it’s worth checking with a healthcare professional before relying on field fixes alone.
Worth having the five states side by side when you’re deciding what you’re actually looking at:
| Condition | Skin Status | Fix Required |
|---|---|---|
| Hot Spot | Red, warm, intact | Tape immediately |
| Blister | Raised bubble, broken | Clean and protect |
| Infection Risk | Pus, spreading heat | Seek medical help |
| Structural Pain | Joint or bone pain | Stop session |
| Macerated Skin | Wet, soft, white | Dry completely before taping |
Frequently Asked Questions
Can I use moleskin instead of duct tape?
Yes, but it needs to be applied differently — cut with a hole in the centre so the pressure sits around the hot spot rather than on it. Duct tape is more durable in wet conditions and faster to apply, which is why most experienced ruckers default to it. Moleskin is better for pre-taping known rub points before a session; duct tape is better when you’re already out and need to respond to what you’re feeling.
Will duct tape leave sticky residue on my socks?
It can. The fix is to apply the tape directly to the skin, not to the sock. If residue on socks is a concern — some people find it builds up over multiple uses — apply a second layer of tape over the first, sticky sides together. That sandwiches any residue away from the fabric.
Is it safe to walk on a blister covered in tape?
It’s safe for short-term continuation if the skin is still intact. Once a blister has actually formed, the priority shifts to cleaning and protecting it properly once you’re off your feet. Taping over an existing blister is a temporary measure for finishing a session, not a long-term treatment.
The fix is simpler than most guides make it sound. Feel the heat. Stop. Dry the foot. Apply duct tape directly to the hot spot before the skin breaks. That’s it — the step that’s missing from most rucking content, and the one that lets you keep moving.
The goal isn’t to eliminate every bit of discomfort. It’s to keep you capable: finishing the session you came to do, without a blister that sidelines you for days afterwards. Prevention is better than cure, but when you’re already out and the hot spot has started, you have what you need to push through.
Now you know the one thing that actually works — Get the Free First Ruck Gear Checklist to make sure your socks, footwear, and load setup aren’t setting you up for hot spots in the first place.
Back on the Trail
Field fixes cover friction — they don’t cover everything that can go wrong with your feet under load. If pain keeps recurring, or something looks more serious than a hot spot, that’s a conversation for a physio or GP, not a roll of tape. The pressure-ulcer detail above draws on NHS guidance, and for the wider picture on blisters, chafing and pain management, see Rucking Troubleshooting: Blisters, Chafing and Pain — What Actually Works.